Monday, April 30, 2012

Frost!

Today the children created frost and observed the conditions that were necessary for frost formation.  They learned that frost, like dew, is water that comes out of the air.  While exploring, we learned that frost forms as tiny ice crystals rather than as water droplets. Several of our tin cans only had condensation on the outside, but we did get one really great example of frost!  Our class photographer, Caroline, captured the pictures below.


We also took some pictures of our frost under the digital microscope.  Here is what we found.


Evaporation and Condensation!

Water Goes Into the Air....Water Comes Out of the Air
The children engaged in a lesson on evaporation during this past week.  They used a paintbrush to "paint" a water picture on construction paper.  We then used our science skills of observing and wondering!  The children enjoyed watching the water disappear from the paper.  We had many thoughts and "wonders" about where the water went.  Some thought the water may have gone inside the paper so we ripped up the paper to see.  We found no water.  Still others predicted that the water went into the air and turned to water vapor.
The following day, we experimented with water coming out of the air.  We used a "hot pot" and a tray with ice on top to see what would happen.  We carefully observed the steam coming up from the hot pot and hitting the bottom of the ice tray.  The kids started to notice that something was forming on the bottom of the pan.  It then began to rain!!  They loved this!  We wondered about where the water came from and our ideas ranged from "It came through the pan" to "It is the water vapor, like how clouds form!"  We even had our photographer, Eric, capture some pictures of our findings.


Friday, April 27, 2012

Clouds!

The children spent time earlier this week learning about how clouds are made!  We charted what the children already know about clouds.  Here is what they know:

* There are different types of clouds: nimbus, stratus, cumulus and cirrus
* Different clouds bring different kinds of weather.
* If there are a lot of clouds, it can be darker outside.
* Nimbus clouds make rain.
* Thunderclouds can bring storms.
* Evaporation helps to make clouds.
* Water vapor goes up into the sky, which helps to form clouds.

Then, after looking at different cloud types, the children made models of the four basic cloud types: cumulus, stratus, cirrus and thunderclouds.

Our scientist were incredibly engaged during our simple walk outside and eager to look up in the sky to try to identify what types of clouds were present!  Our cloud photographers (Molly, Keira, Michael S and Grace) took these wonderful pictures of the clouds we spotted.  The kids observed the clouds in the sky and determined that they were cumulus clouds!  In recent days, several of the students have come up to me at recess to tell me what types of clouds are in the sky.  I think we have some future meteorologists in the group!


Measuring the Rain!

Last week, the kids had a great time learning how meteorologists measure rainfall.  We learned that the average yearly rainfall in Arlington Heights is about 90 cm per year!  The children loved seeing our classroom rain gauge for the first time.  We took it outside, sprayed water to see how the drops collect in the gauge and filled it to practice reading the measurements.  We then found the perfect spot in our courtyard and put the rain gauge in place.  We have checked on it frequently!  Today when we checked there was a quarter of a cm of rain.
 

Monday, April 23, 2012

Water, Water Everywhere!


For the past several days, we have been learning about water and how it affects our weather.  The students experimented with water freezing and melting.  We placed cups of water, with a small object placed inside, in the freeze to see what would happen.
The following day we took out our cups and the water had turned to ice!  The kids were so excited to go get their cups!  We explored our ice cube and experimented with different things to see if we could figure out a way to get it to melt quicker.  What a mess we made and what fun we had!


Here are some of our conclusions about melting ice:

* Ice will melt faster if you hold it in your warm hands.
* Salt helps ice to melt faster.
* Sand did not help the ice melt faster.
* Using a knife or paperclip to scrap at the ice helped it to melt faster.
* Wrapping the ice in a paper towel did not help it to melt faster.
* The ice cube turned into a puddle as it started to melt.
* Water was dripping everywhere.
* Water in weather could be rain, snow, ice or hail.


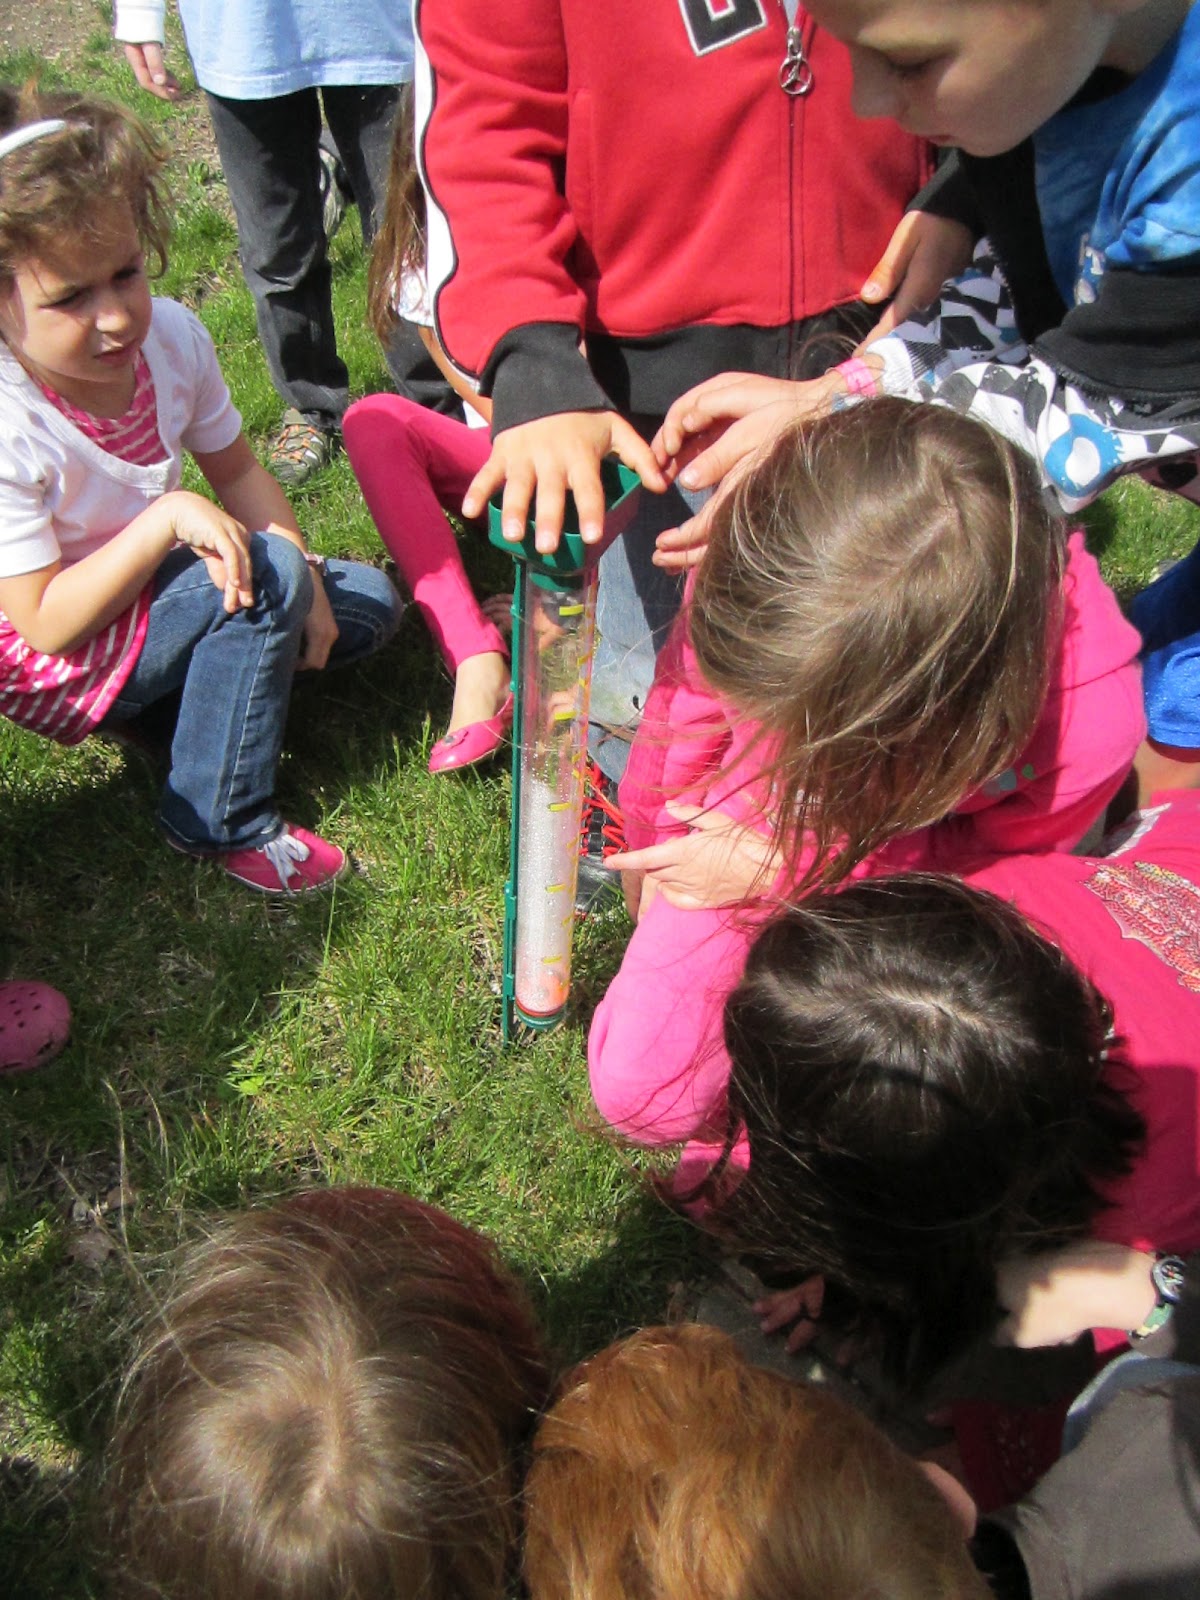
We finally got our time lapse video of the melting ice!  The third time was a charm.  The children watched it to see how the ice slowly melted!  They instantly noticed that the temperature went up on the thermometer.  Check out our time lapse below:


Wednesday, April 18, 2012

Digital Movies!

The students worked with the digital technology program animation-ish today to show what they learned about the sun from our ice cube experiment.  Each partner group created several slides of a melting ice cube that was either in the sun or the shade.  They used these slides to create a movie of their melting ice cube.  They looked so comfortable on the laptops and were great problem solvers while using this new program!  Check out our work!
Aidan and Alli's Ice Cube in the Shade
Carter and Molly's Ice Cube in the Shade
Charlie L and Caroline's Ice Cube in the Sun
Charlie S and Michael J's Ice Cube in the Sun
Claire and Eric's Ice Cube in the Shade
Connor and Lauren
Jake and Keira's Ice Cube in the Sun
Maddie and Grant's Ice Cube in the Shade
Michael S. and Grace's Ice Cube in the Shade
Sophie's Ice Cube in the Sun


Friday, April 13, 2012

Here Comes the Sun!!

Yesterday our scientists set out to explore how the sun affects the weather and to learn more about it's "job."  We set up an experiment in our courtyard to see what would happen if we placed some ice cubes in a shady spot and some in a sunny spot.  The children had a fabulous time searching for the differences between these two sites.  We used the mimio pen to drag some facts that we learned from our experiment into the appropriate section of our venn diagram.  This helped us to think about all that we learned while observing our ice cubes.

Each table group had a photographer who took pictures of our ice cubes in both the sunny and shady spots.  


/ 


Look for our animation-ish movies coming soon!!!!  We used a digital technology program to show how our ice cubes melted in both the sun and the shade.

Using the Thermometer

The students learned all about using the thermometers this week.  We explored the thermometer and talked about how it measures the temperature (how hot or cold something is).  The students then practiced using the thermometer by placing it in ice water, room temperature water and hot water.  They loved seeing the red shoot up on the hot thermometer!  They practiced reading the thermometer to the exact degrees and talked about the colors on our thermometer that can be associated with different temperatures.  Here are some pictures that the student photographers took during our explorations.